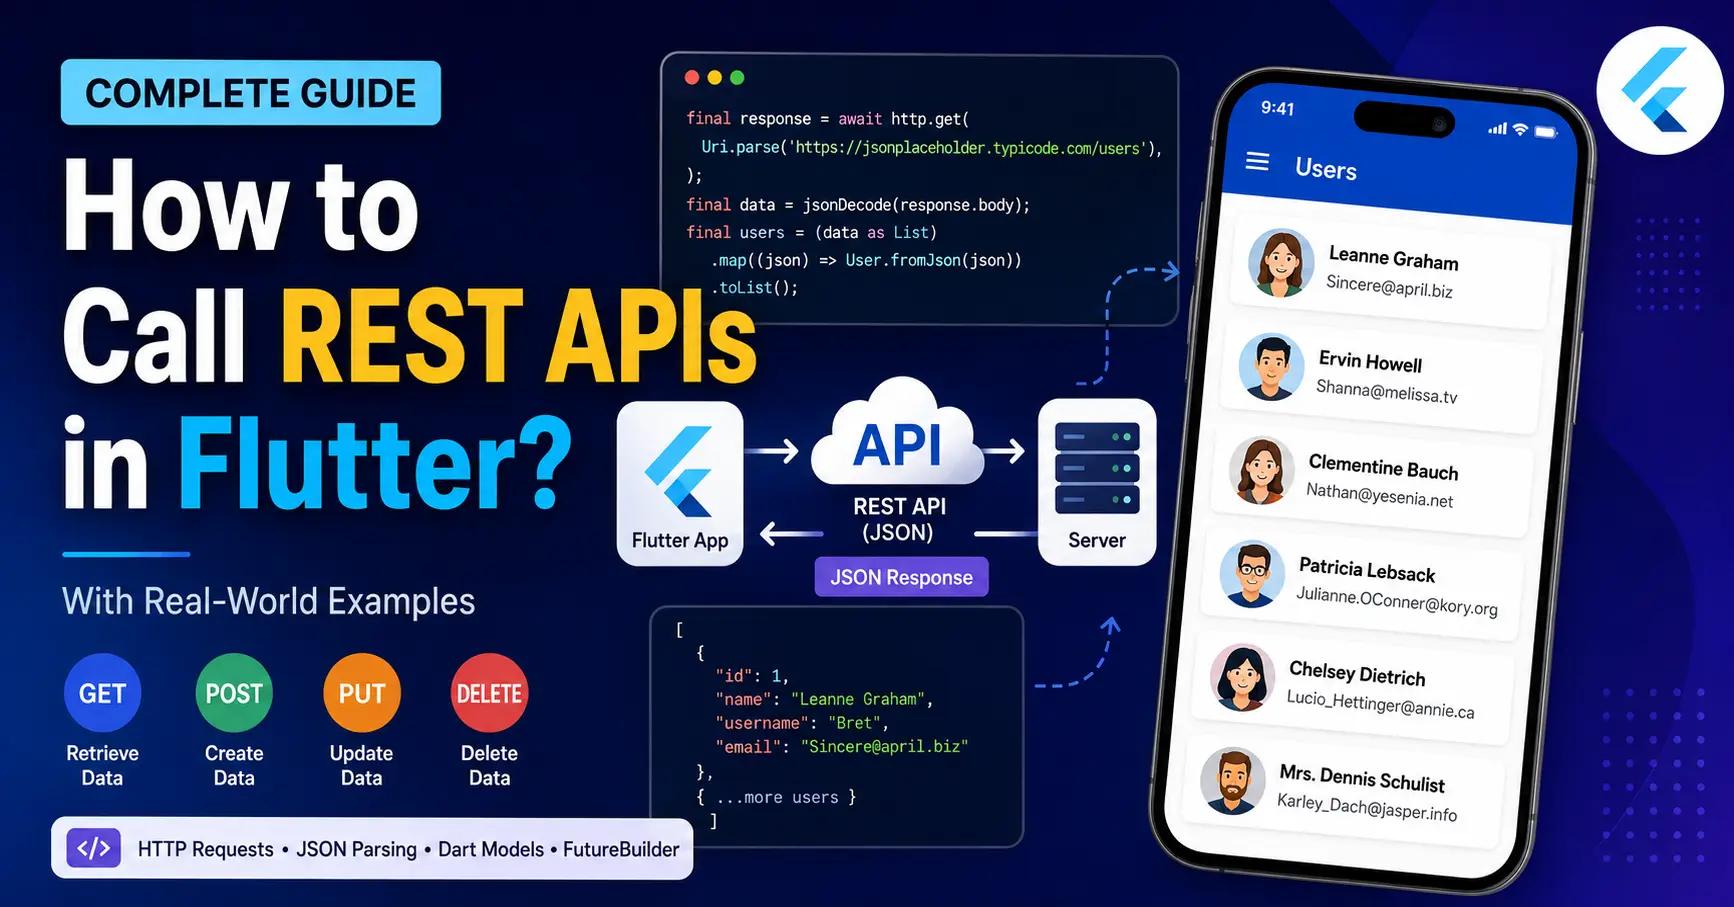
Modern mobile applications rarely work with data stored only inside the application. When you open a food delivery app, check your bank balance, browse products, or read the latest news, the app usually communicates with a backend server through APIs.
Flutter applications can communicate with backend servers using REST APIs. In this article, we'll understand how REST APIs work, how to call them from Flutter, how to parse JSON responses, and how to display the returned data in the UI using a real working API.
By the end, you'll have a complete Flutter example that you can run yourself.
What is a REST API?
A REST API (Representational State Transfer API) is a way for different applications to communicate with each other over the internet using HTTP.
For example, imagine you're building a food delivery application.
The Flutter application handles the user interface, while a backend server handles business logic and database operations.
The communication might look like this:
Flutter App
     ↓
HTTP Request
     ↓
REST API
     ↓
Backend Server
     ↓
Database
     ↓
JSON Response
     ↓
Flutter App
Suppose the Flutter app needs to retrieve a list of restaurants.
It might send:
GET /restaurants
The backend retrieves the restaurant information from the database and returns JSON:
[
  {
    "id": 1,
    "name": "Pizza House",
    "rating": 4.5
  },
  {
    "id": 2,
    "name": "Burger Point",
    "rating": 4.2
  }
]
Flutter then converts this JSON into Dart objects and displays the information on the screen.
HTTP Methods Used by REST APIs
REST APIs commonly use different HTTP methods depending on what we want to do.
| HTTP Method | Purpose | Real-World Example |
|---|---|---|
| GET | Retrieve data | Get products |
| POST | Create data | Place an order |
| PUT | Update data | Update profile |
| DELETE | Delete data | Delete an address |
For example, when you open the products page of an e-commerce application, the app might use a GET request.
When you click Place Order, the app could use a POST request.
When you change your delivery address, it could use PUT.
When you delete an address, it could use DELETE.
Calling REST APIs in Flutter
Flutter applications can use packages to communicate with REST APIs. One of the commonly used packages is the http package.
Let's create a practical example using the public JSONPlaceholder API.
JSONPlaceholder provides fake REST API data specifically for testing and learning. This means you can run the examples without creating your own backend server.
Step 1: Add the HTTP Package
Open your Flutter project's pubspec.yaml file and add:
dependencies:
  flutter:
    sdk: flutter
  http: ^1.5.0
Then run:
flutter pub get
The http package provides methods such as:
http.get()
http.post()
http.put()
http.delete()
which we can use to communicate with REST APIs.
Note: Package versions can change over time. If you're starting a new project, you can use the current stable 1.x version available on pub.dev.
Step 2: Import Required Packages
We need two packages for our example:
import 'dart:convert';
import 'package:http/http.dart' as http;
The http package is responsible for sending HTTP requests.
The dart:convert library provides functions for working with JSON, including:
jsonDecode()
jsonEncode()
Step 3: Use a Real REST API
For this tutorial, we'll use:
https://jsonplaceholder.typicode.com/users
If you open this endpoint in a browser, you'll receive a list of users in JSON format.
A simplified response looks like this:
[
  {
    "id": 1,
    "name": "Leanne Graham",
    "username": "Bret",
    "email": "Sincere@april.biz"
  },
  {
    "id": 2,
    "name": "Ervin Howell",
    "username": "Antonette",
    "email": "Shanna@melissa.tv"
  }
]
This is useful because we can test our Flutter application with actual HTTP requests instead of using a fake URL such as api.example.com.
Step 4: Make a GET Request
Let's create a function that retrieves the users.
Future<List<User>> getUsers() async {
  final response = await http.get(
    Uri.parse('https://jsonplaceholder.typicode.com/users'),
  );

  if (response.statusCode == 200) {
    final List<dynamic> data = jsonDecode(response.body);

    return data
        .map((json) => User.fromJson(json))
        .toList();
  } else {
    throw Exception('Failed to load users');
  }
}
Let's understand this step by step.
First:
http.get()
sends a GET request to the API.
The URL is converted into a Uri using:
Uri.parse()
Because network communication takes time, we use:
await
This tells Dart to wait until the server sends a response.
The response is stored in:
response
We can check the HTTP status code:
response.statusCode
For a successful request, the server normally returns:
200
The actual response data is available through:
response.body
Step 5: Convert JSON into Dart Objects
The API returns JSON, but working directly with raw JSON throughout a large Flutter application isn't a good approach.
Instead, we can create a Dart model.
class User {
  final int id;
  final String name;
  final String username;
  final String email;

  User({
    required this.id,
    required this.name,
    required this.username,
    required this.email,
  });

  factory User.fromJson(Map<String, dynamic> json) {
    return User(
      id: json['id'],
      name: json['name'],
      username: json['username'],
      email: json['email'],
    );
  }
}
The User class represents one user returned by our API.
The fromJson() factory constructor converts JSON data into a User object.
For example:
{
  "id": 1,
  "name": "Leanne Graham"
}
can become a Dart object:
User(
  id: 1,
  name: "Leanne Graham",
  ...
)
This makes our code much easier to work with.
Step 6: Return a List of Users
Now let's look again at our API function:
Future<List<User>> getUsers() async {
  final response = await http.get(
    Uri.parse('https://jsonplaceholder.typicode.com/users'),
  );

  if (response.statusCode == 200) {
    final List<dynamic> data = jsonDecode(response.body);

    return data
        .map((json) => User.fromJson(json))
        .toList();
  } else {
    throw Exception('Failed to load users');
  }
}
Notice the return type:
Future<List<User>>
Why Future?
Because the API call is asynchronous. We don't know exactly when the server will respond.
Why List<User>?
Because the API returns multiple users.
So:
Future<List<User>>
means:
"This function will eventually give us a list of User objects."
This is particularly important when using FutureBuilder.
Step 7: Display API Data Using FutureBuilder
Now we need to display our users in the Flutter UI.
FutureBuilder is useful when our UI depends on the result of a Future.
Here's the implementation:
FutureBuilder<List<User>>(
  future: getUsers(),
  builder: (context, snapshot) {

    if (snapshot.connectionState == ConnectionState.waiting) {
      return const Center(
        child: CircularProgressIndicator(),
      );
    }

    if (snapshot.hasError) {
      return Center(
        child: Text('Error: ${snapshot.error}'),
      );
    }

    if (!snapshot.hasData || snapshot.data!.isEmpty) {
      return const Center(
        child: Text('No users found'),
      );
    }

    final users = snapshot.data!;

    return ListView.builder(
      itemCount: users.length,
      itemBuilder: (context, index) {
        final user = users[index];

        return ListTile(
          leading: CircleAvatar(
            child: Text(user.id.toString()),
          ),
          title: Text(user.name),
          subtitle: Text(user.email),
        );
      },
    );
  },
)
There are three important states here.
Loading State
While the API request is running:
snapshot.connectionState == ConnectionState.waiting
we display:
CircularProgressIndicator()
This gives the user visual feedback that data is being loaded.
Error State
If something goes wrong:
snapshot.hasError
we display an error message.
Success State
Once the API returns data:
final users = snapshot.data!;
we display the users using:
ListView.builder()
This is much better than simply displaying:
Text('Users loaded')
because we're actually binding the API response to the Flutter UI.
Real-World Example: Food Delivery App
Let's connect this concept to a real application.
Imagine you're building a food delivery app.
When the user opens the restaurant screen, Flutter might call:
GET /restaurants
The backend could return:
[
  {
    "id": 1,
    "name": "Pizza Palace",
    "rating": 4.6
  },
  {
    "id": 2,
    "name": "Burger Hub",
    "rating": 4.4
  }
]
Flutter converts this JSON into Dart objects.
Then:
ListView.builder()
can display each restaurant.
The complete flow becomes:
User opens restaurant screen
          ↓
Flutter calls GET /restaurants
          ↓
Backend receives request
          ↓
Backend queries database
          ↓
Database returns restaurants
          ↓
Backend sends JSON
          ↓
Flutter receives JSON
          ↓
JSON → Dart objects
          ↓
ListView.builder()
          ↓
Restaurants displayed
This same approach can be used for products, news articles, social media posts, hotel listings, courses, and many other applications.
Making a POST Request
GET isn't the only operation we need.
Suppose our food delivery application allows a user to place an order.
The Flutter application could send:
{
  "userId": 101,
  "productId": 20,
  "quantity": 2
}
using a POST request.
In Flutter:
Future<void> createOrder() async {
  final response = await http.post(
    Uri.parse('https://example.com/orders'),
    headers: {
      'Content-Type': 'application/json',
    },
    body: jsonEncode({
      'userId': 101,
      'productId': 20,
      'quantity': 2,
    }),
  );

  if (response.statusCode == 201) {
    print('Order created successfully');
  } else {
    print('Failed to create order');
  }
}
Here:
jsonEncode()
converts the Dart map into JSON before sending it to the server.
For a production application, the URL would point to your own backend API.
Handling API Errors
Network requests can fail for many reasons.
For example:
-
The user doesn't have an internet connection.
-
The server is unavailable.
-
The API URL is incorrect.
-
The requested resource doesn't exist.
-
Authentication fails.
-
The server encounters an internal error.
We should therefore check the response status code.
if (response.statusCode == 200) {
  // Success
} else if (response.statusCode == 401) {
  // Unauthorized
} else if (response.statusCode == 404) {
  // Not found
} else if (response.statusCode >= 500) {
  // Server error
}
We can also use try-catch to handle exceptions:
try {
  final response = await http.get(
    Uri.parse('https://jsonplaceholder.typicode.com/users'),
  );

  print(response.body);
} catch (e) {
  print('Error: $e');
}
In a production application, you would normally create a proper error-handling strategy instead of simply printing the error.
Complete Working Example
Here is a complete example combining everything we've learned.
import 'dart:convert';

import 'package:flutter/material.dart';
import 'package:http/http.dart' as http;

void main() {
  runApp(const MyApp());
}

class User {
  final int id;
  final String name;
  final String username;
  final String email;

  User({
    required this.id,
    required this.name,
    required this.username,
    required this.email,
  });

  factory User.fromJson(Map<String, dynamic> json) {
    return User(
      id: json['id'],
      name: json['name'],
      username: json['username'],
      email: json['email'],
    );
  }
}

Future<List<User>> getUsers() async {
  final response = await http.get(
    Uri.parse('https://jsonplaceholder.typicode.com/users'),
  );

  if (response.statusCode == 200) {
    final List<dynamic> data = jsonDecode(response.body);

    return data
        .map((json) => User.fromJson(json))
        .toList();
  } else {
    throw Exception('Failed to load users');
  }
}

class MyApp extends StatelessWidget {
  const MyApp({super.key});

  @override
  Widget build(BuildContext context) {
    return MaterialApp(
      debugShowCheckedModeBanner: false,
      home: const UsersScreen(),
    );
  }
}

class UsersScreen extends StatelessWidget {
  const UsersScreen({super.key});

  @override
  Widget build(BuildContext context) {
    return Scaffold(
      appBar: AppBar(
        title: const Text('Users'),
      ),
      body: FutureBuilder<List<User>>(
        future: getUsers(),
        builder: (context, snapshot) {
          if (snapshot.connectionState == ConnectionState.waiting) {
            return const Center(
              child: CircularProgressIndicator(),
            );
          }

          if (snapshot.hasError) {
            return Center(
              child: Text('Error: ${snapshot.error}'),
            );
          }

          if (!snapshot.hasData || snapshot.data!.isEmpty) {
            return const Center(
              child: Text('No users found'),
            );
          }

          final users = snapshot.data!;

          return ListView.builder(
            itemCount: users.length,
            itemBuilder: (context, index) {
              final user = users[index];

              return ListTile(
                leading: CircleAvatar(
                  child: Text(user.id.toString()),
                ),
                title: Text(user.name),
                subtitle: Text(user.email),
              );
            },
          );
        },
      ),
    );
  }
}
You can copy this example into a new Flutter project, add the http dependency, and run it. The application will make a real GET request to JSONPlaceholder and display the returned users.
Understanding the Complete Flow
The entire process can now be summarized as:
Flutter UI
    ↓
FutureBuilder
    ↓
getUsers()
    ↓
http.get()
    ↓
REST API
    ↓
JSON Response
    ↓
jsonDecode()
    ↓
User.fromJson()
    ↓
List<User>
    ↓
ListView.builder()
    ↓
Flutter UI
Once you understand this flow, working with other REST APIs becomes much easier.
The API endpoint may change, the JSON structure may change, and the model class may change, but the fundamental process remains similar.
Conclusion
REST APIs are an essential part of modern Flutter development. They allow your application to communicate with backend servers and work with real-world data.
The basic process is:
Send HTTP request → Receive JSON → Decode JSON → Convert JSON into Dart objects → Display the data in the UI.
In this tutorial, we used JSONPlaceholder to retrieve users, created a User model, converted the JSON response into List<User>, and displayed the result using FutureBuilder and ListView.builder.
Once you're comfortable with GET and POST requests, JSON parsing, asynchronous programming, models, and error handling, you can start connecting Flutter applications to your own backend APIs built with technologies such as Node.js, PHP, .NET, Spring Boot, or other backend frameworks.
This is one of the most important skills to learn if you want to build production-ready Flutter applications.